Got some interesting notes on how to convert photo to cartoon. I was thinking of making one for my profile picture here and if there's more more time, another cartoon photo for my header :D
There are lot of options of converting your photo to cartoon - Option A: via online...
Choose a style you want for your photo, selections are cartoons, comic, crayon, vampire, fantasy, etc.
Fill in 'tags', without tags it won't upload your photo.
Browse photos from your computer, note that quality pictures will only be accepted. I tried photos from iPhone, it didn't work. Click upload.
Wait for the converting. Once done, you can view and adjust your carton picture then click 'convert to cartoon'.
If okay, just right click the photo and save the image. You can get the url and html, just click the one I encircled
Here's the sample photo...
If you noticed, there's a label below the photo, just crop it :p
Warning, once you upload photo here it will automatically viewed in their photo gallery. I'm not sure if there's delete option for your photo. The tagging is for your reference if you want to search your photo in the future.
From 'Home', click 'Get Started Free'. Click 'upload a photo to get started', refer to image above.
Upload from PC. Here's the other images for your reference :)
Just go to save icon and save it to your PC. There are other options like the print and share button. Well, as you can see there's watermark, you have to upgrade your account to remove the watermark. At least here it will not automatically save to their gallery.
Option B: via trial version software from Caricaturesoft. You can download the trial version and it allows you to convert 10 photos or 30 photos. Tried everything, its all working.
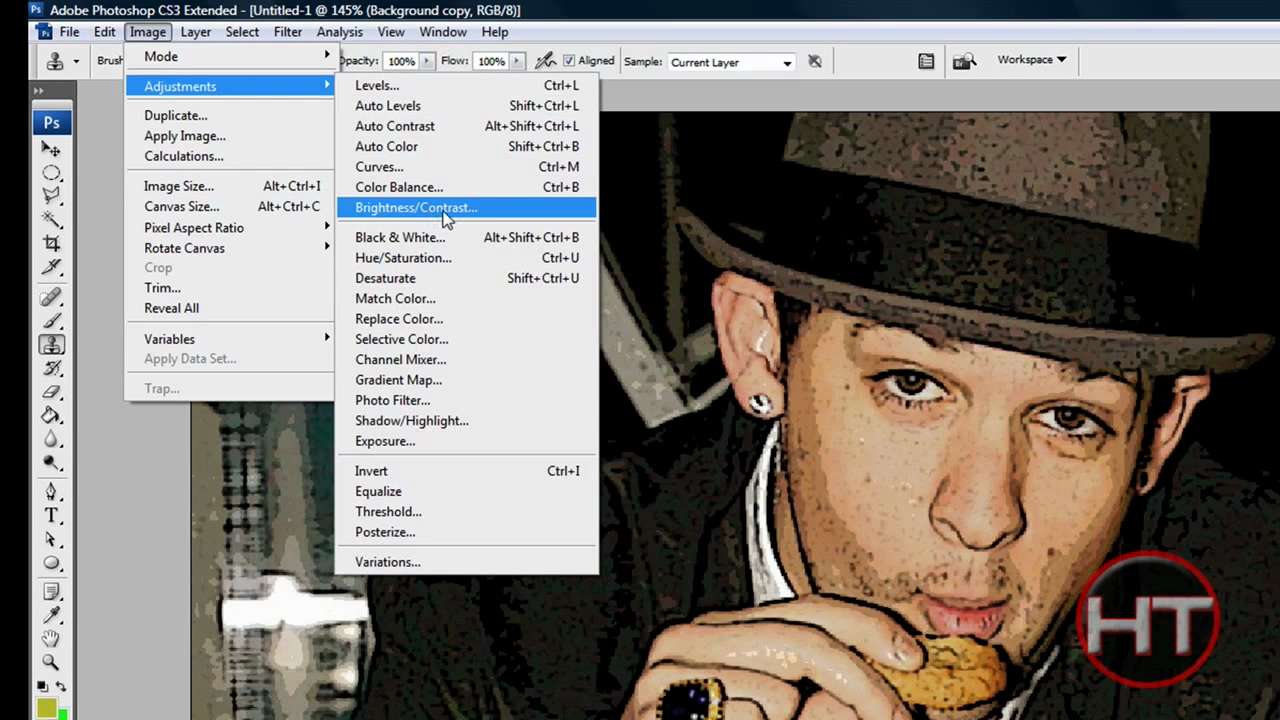
Option C: via CS5 If you have CS5, here's a quick tutorial for you :)
I made a snopshot from the video :p Click to enlarge image.
*end*
Here's what I've made from CS5.
*cough* I followed everything. Well, will just play on them later :D At least, I can make my profile picture in a while. For the header, I have no idea yet how to design it! And I'm actually waiting on the contest that I joined from Everyday Mom Ideas :) Hope I win, hope I win . . .
Every time we go to Giant grocery store, we don't missed to buy their Golden Cheese Cake or Japanese Cheesecake. It cost SGD4.70 for 400g. Its fluffy and yummy! I really like the taste. I can actually eat the whole cake. My daughter likes it too.
That's why I'm planning to make my own Japanese cheesecake. I already picked a recipe but I have to buy a 9 inch Springform pan. I saw this in Ikea last time. I was having a second thought of buying it cos that time I wasn't baking cake yet. I'm not in a hurry, but I just can't help imagining myself baking it. That's why I'm blogging this so I would pursue my plan. Good luck to me :)
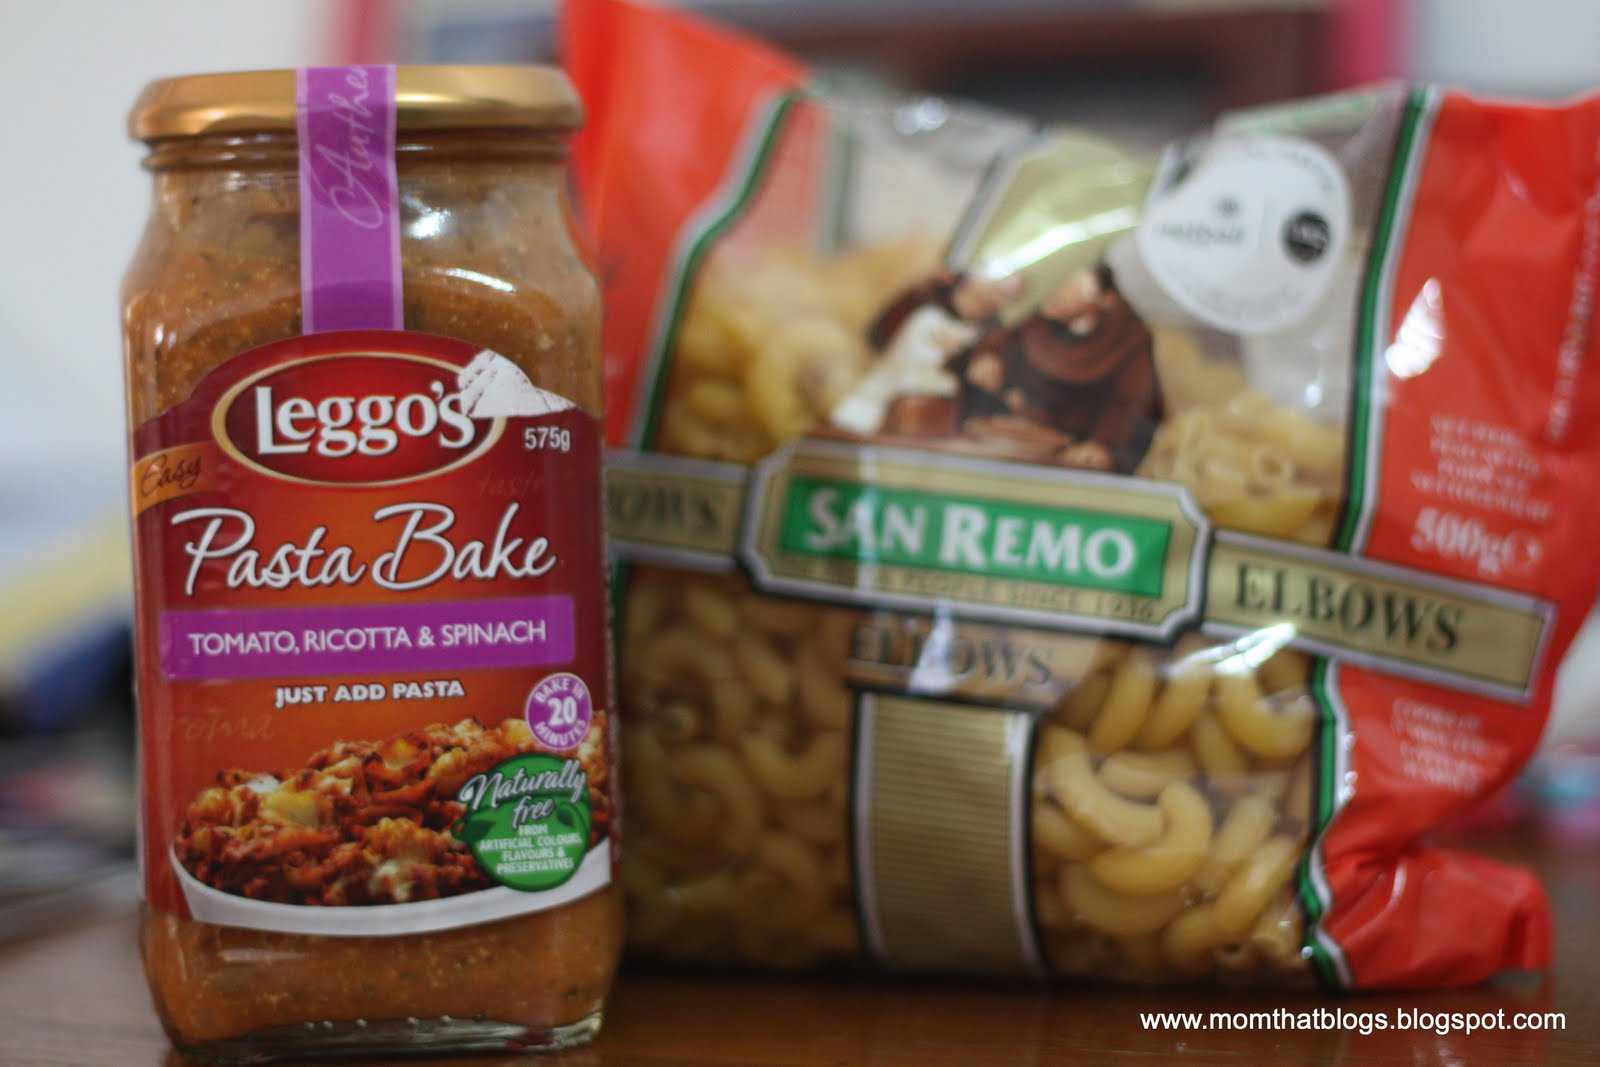
Our meal for today is a Filipino recipe called Pinapaitan, an ilocano dish - slightly bitter with strong citrus notes, ingredients are tasty and extraordinary. My recipe was inspired by Mama Sita's Bitter Stew Mix and Lutong Pinoy.
This is my old time favorite meal, my dad like to cook this when we were young. My dad was the best cook! Unfortunately, I didn't remember how he cook this kind of stew. Few days ago, when I was in Filipino store, I was surprised to see the Mama Sita's Pinapaitan mix. At last! I can try it at home. Thank you Mama Sita! :)
My version: Part 1
1 kg of beef
pepper corn
garlic
onion
water
fish sauce
beef cube, optional
In cooking pot or pressure cooker, put all the above ingredients. Bring to boil and remove scum. Replace the cover of the pressure cooker. Cook til tender.
Drain meat and slice beef to serving pieces, set aside. Also set aside beef broth.
Part 2
2 1/2 cups beef broth
1 pack Mama Sita's Pinapaitan Mix
cooking oil
garlic, minced
ginger, sliced
onion, sliced
cooked beef, sliced to serving pieces
Combine the beef broth and pack of Mama Sita mix in a bowl, set aside.
Saute garlic, ginger and onion in cooking oil.
Add the beef, stir.
Add beef broth with Mama Sita mix. Bring to boil.
Add green chili, simmer.
Try adding a bit of water and vinegar.
Season to taste.
Smells good and so tasty!
I don't have to go to Lucky Plaza to eat Pinapaitan :D
Blogger Buzz: New Share Buttons: "Posted by Jiho Han, Software Engineer Sharing is an important feature for bloggers. When your readers find an interesting post, they proba..."
To update my post on FavIcon, I just found a site that resolves the problem on favicon not showing up on Internet Explorer. The link is free hosting, no worries :P
You can upload your image file in gif, png, jpg, bmp, ico (less than 1mb) to generate the favicon.
Copy the code from the site.
From 'edit HTML' of your Blogger, refer to the image. Just below the 'head', delete the part I encircled . . .
and replace it with the code you copied from IconJ. 'Preview', if not okay ' Clear Edits'. If okay 'Save Template' :P
I suggest you create an account, anyway its free.
It worked now with IE and also works with Google chrome even in Splashtop browser from Lenovo Quick Start :P Note, it's possible that you might not see your icon right away, it may take a while. Just wait, be patient. Refresh browser, clear your cache is recommended.
Please send me message if it worked for you or not. Better, comment here if you found other better works for FavIcon :)
This afternoon I was busy on trying to change my favicon or website icon and adding a navigation bar on my blogger. For the meantime, I cropped the icon from my signature cos I don't have an image yet for that purpose. I should make one soon.
I found the tutorial from Jenieshell. Another amazing site!! She got lots of tutorials for blog design. I also learned from her site about the navigation bar.
I should try to find an image for my navigation bar soon :) For now, simple navigation bar will do :P
Check her site! :-)
Note: I just noticed that my new website icon is not showing in IE, tsk. And my navigation bar font didn't show up in other PC, tsk. Still need to work things out.
I highly suggest you dispose your sponge pad every few weeks as they breed bacteria. After a few weeks of use, the color of your sponge won't look the same, then it's time to change it :-)
If you love the two series, surely you will definitely love Toy Story 3!! There's a lot of emotions and beautiful moments. It was fantastic. It was so so so touching and also funny. There's a part, almost at the end of the movie when I cried, I was really crying! It was really a sad scene, promise! Please do not fail to watch this with your family and love ones! The best animated trilogy ever!! Watch the movie and buy DVD, really worth it!!!
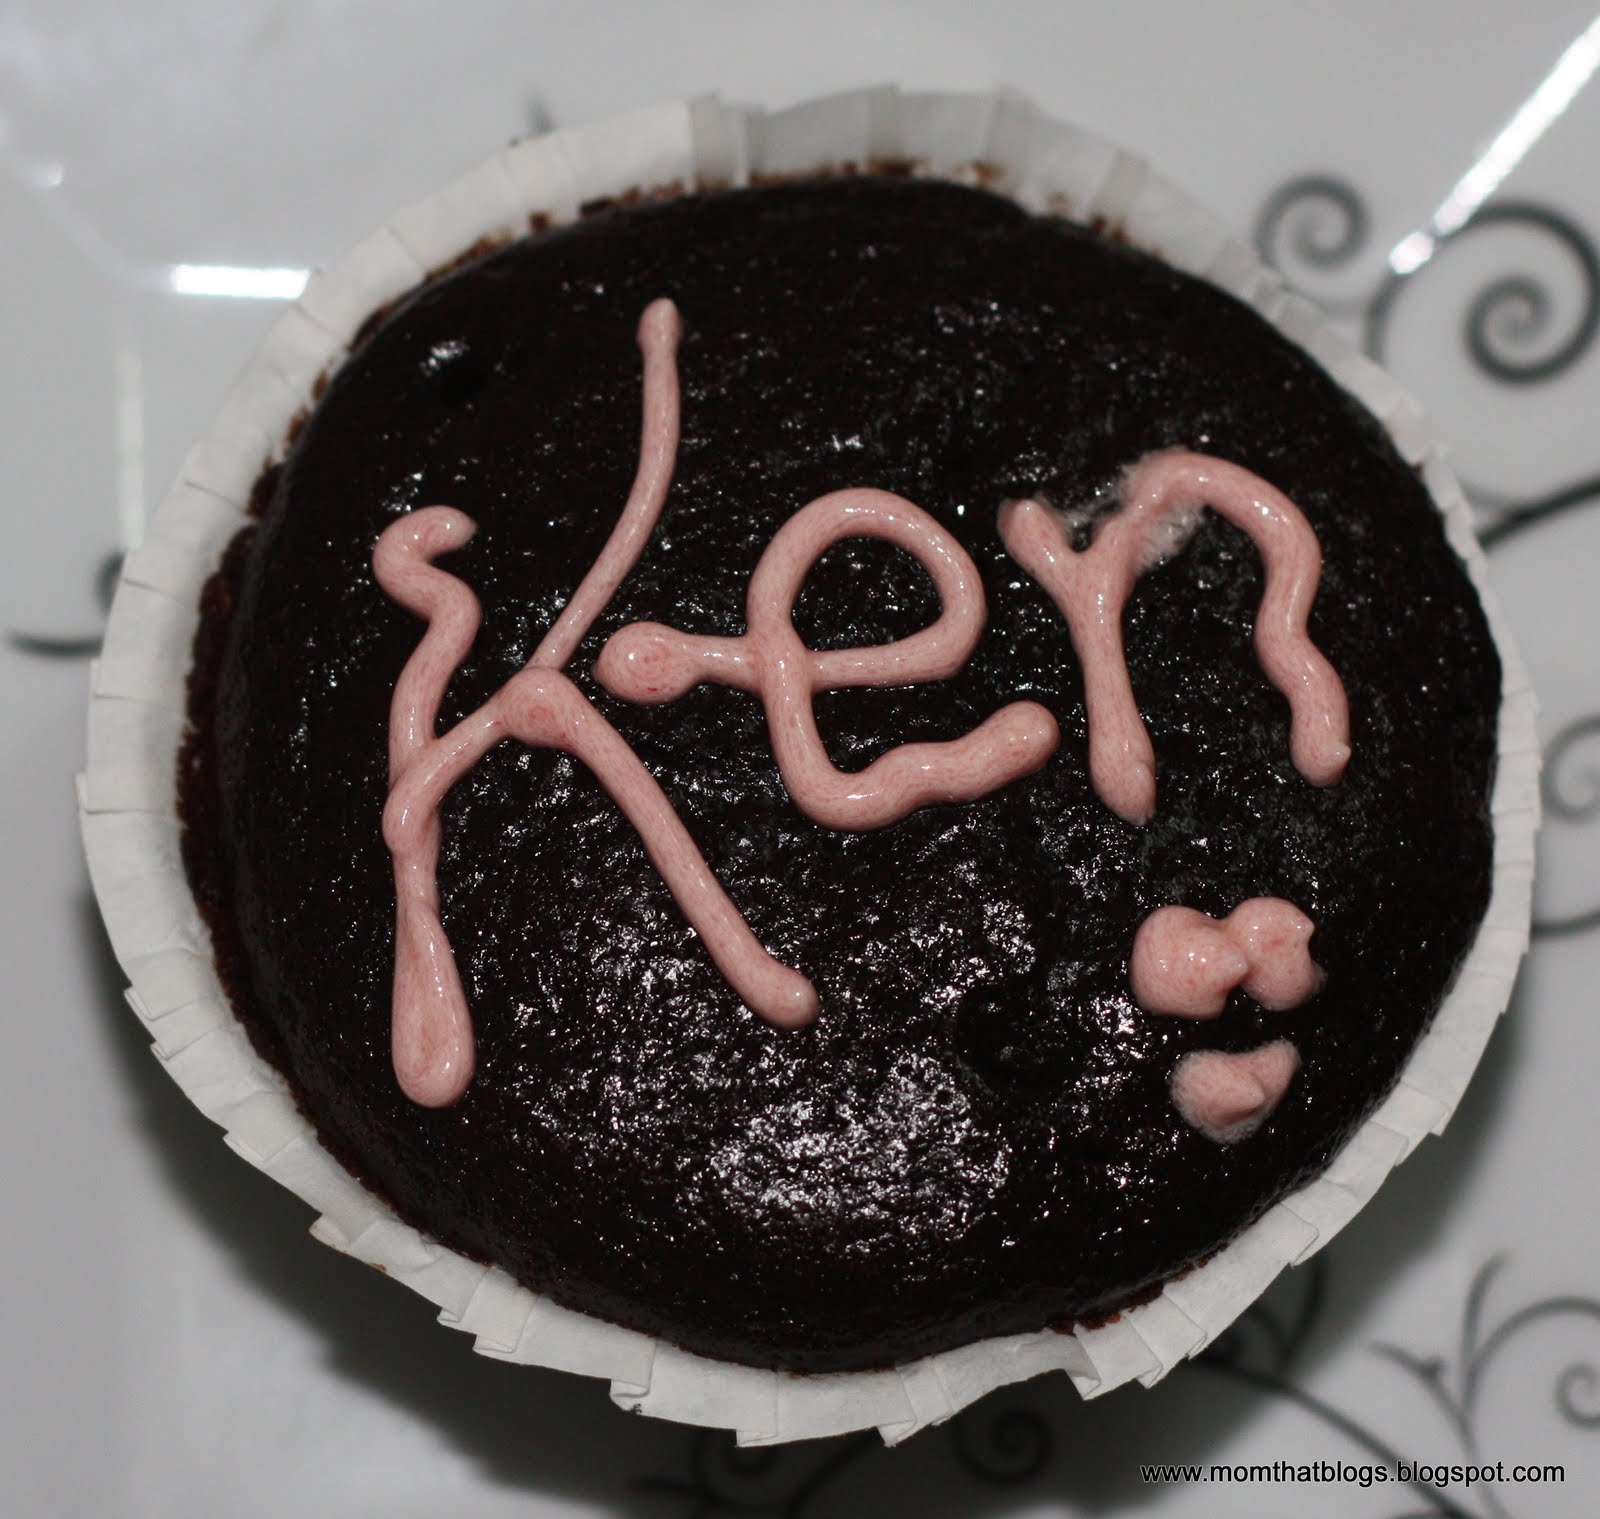
It's a day of our friend as she made her first icing for chocolate cupcake. I first baked the cupcake then her turn for the frosting. Please refer to photos :)
The recipe was inspired by Hershey's chocolate cake. I made some modification on sugar from 2 cups to 1 1/2 cups, salt from 1 tsp to 1/2 tsp, and vanilla extract from 2 tsp to 1tsp. And the rest of the ingredients and instructions were the same.
1-1/2 cups sugar 1-3/4 cups all-purpose flour 3/4 cup HERSHEY'S Cocoa 1-1/2 teaspoons baking powder 1-1/2 teaspoons baking soda 1/2 teaspoon salt 2 eggs 1 cup milk 1/2 cup vegetable oil 1 teaspoons vanilla extract 1 cup boiling water
1. Line muffin cups (2-1/2 inches in diameter) with paper bake cups. Heat oven to 350°F.
2. Stir together sugar, flour, cocoa, baking powder, baking soda and salt in large bowl. Add eggs, milk, oil and vanilla; beat on medium speed of mixer 2 minutes. Stir in boiling water (batter will be thin).
3. Fill cups 2/3 full with batter. Bake 22 to 25 minutes. Cool completely. Frost.


 That's why I'm planning to make my own Japanese cheesecake. I already picked a recipe but I have to buy a


 I highly suggest you dispose your sponge pad every few weeks as they breed bacteria. After a few weeks of use, the color of your sponge won't look the same, then it's time to change it :-)