Friday, October 29, 2010

My Homemade Bread

Just so you know, I am trying my best not to bake sweets.  We are cutting down on sweets :P  Though my week will not be complete when I don’t bake at least twice.  So I decided, why not bake our own bread as I often buy bread in store. 

I’ve been making this few times already and I highly recommend it.
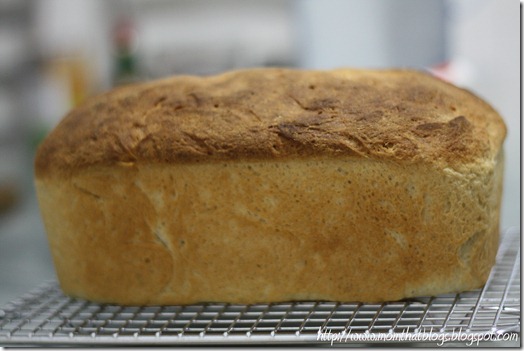
IMG_2423

Ingredients:
  • 1 cup bread flour
  • 2 1/2 cups whole wheat flour
  • 1 1/4 teaspoons salt
  • 2 1/4 teaspoons dry yeast (1 packet)
  • 1 cup warm water
  • 1/4 cup sugar
  • 1/3 cup milk
  • 1/4 cup vegetable or canola oil
Procedure:
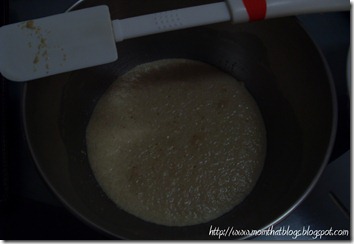
  1. In a large mixing bowl, combine water, sugar, milk and dry yeast.  Mix and set aside, wait until bubble forms on top of the mixture (approx 10 minutes). SDC10229
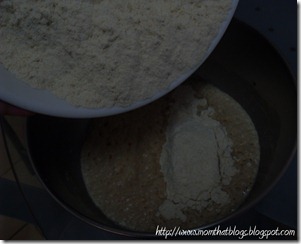
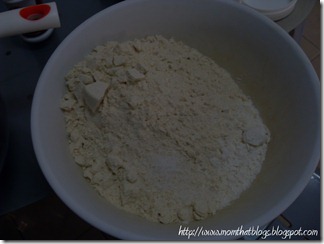
  2. In separate bowl, combine bread flour, whole wheat flour and salt.  Mix well. SDC10230
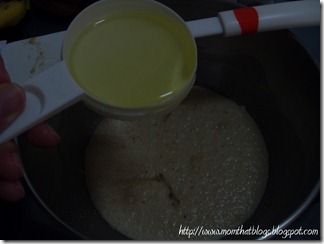
  3. Once yeast mixture is ready, add vegetable/canola oil and stir. SDC10231
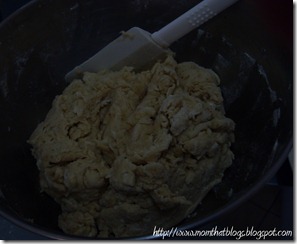
  4. Add the flour mixture and stir until dough starts to pull away from the bowl.SDC10233 SDC10234
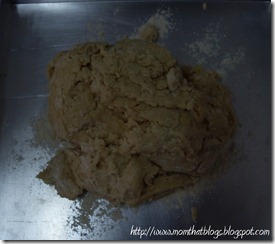
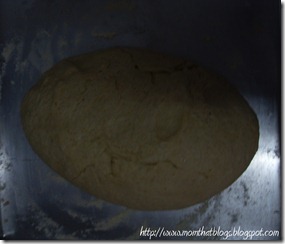
  5. Place the dough on a lightly flour and clean surface and knead the dough for at least 10 minutes or until the dough becomes smooth. SDC10236 SDC10237
  6. Grease the mixing bowl with oil and place the dough in the bowl, flip once to cover the top with oil.  Cover the bowl with damp cloth and let it rise (double in size) for at least one hour.   SDC10238 SDC10241
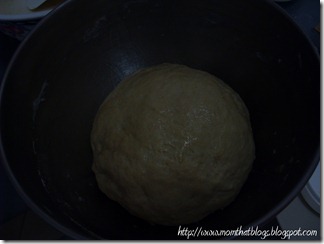
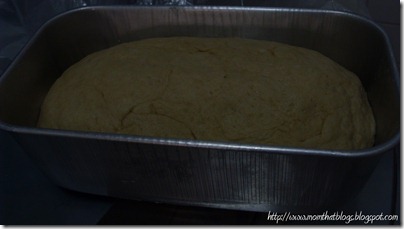
  7. Grease 9-inch loaf pan with a little bit of oil and flour, set aside.  Take the dough out of the bowl and place on a clean lightly floured surface, then shape the dough the size of prepared loaf pan.SDC10246 SDC10252
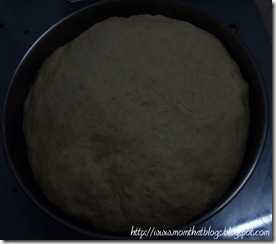
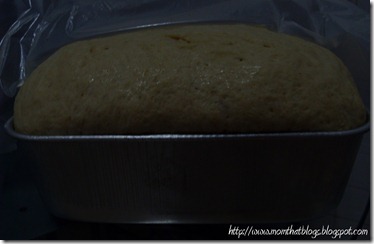
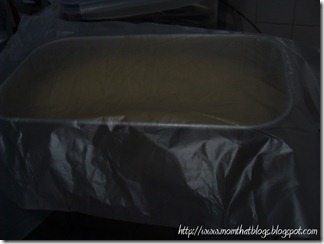
  8. Loosely cover the loaf pan with lightly oil plastic wrap and let it rise again for at least 15 minutes.  The dough should rise about 1-inch above the pan. SDC10251 SDC10253
  9. Preheat oven to 350F.
  10. Bake in center of oven for 40 minutes.  Roughly around 15 minutes or so, the top of the bread will turn brown.  If so, loosely cover the pan with aluminum foil.
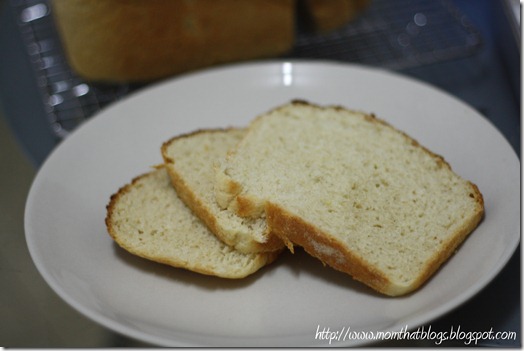
  11. Knock the bottom of the bread and it should sound hallow.  Let it cool completely on wire rack then slice. 
IMG_2431
Photobucket

Egg Tart

When I was sick few weeks ago, I craved for egg tart.  IMG_2408 As soon as I got well, I tried making it and it was really good.  And you know, it was easy.  I enjoyed molding the dough in tart molds.  And the filling was no brainer either.  Try it and surely you will enjoy doing it.  You may adjust the sweetness if you prefer more sweet for the filling.  The sweetness of the tart is already perfect,  so better not to adjust anymore.  So here’s how...

For the tart, you will need:
  • 200g all-purpose flour or whole wheat flour
  • 50g sugar
  • 100g butter
  • 1 egg
What to do:
  1. In mixing bowl, combine flour and sugar.  Mix. 
  2. Add the butter and press it with fork or use your clean hands to combine.  Then add the beaten egg.  The mixture should be slightly moist.  (If its too moist try adding flour and if dry try adding a bit of water). 
  3. Knead the dough from the mixing bowl until soft.
  4. Shape dough to and inch of a ball  (depends on the size of your egg tart).  Press it on the middle of tart molder and use your two thumbs while shaping to molder while the dough goes up to cover the sides.  Make sure the bottom of tart as well as the sides are thin.  Remove excess dough from sides. 
  5. Punch hole of the tart using fork.  Set aside.
Preheat oven to 160C.

For the filling, you need:
  • 5 tablespoons sugar
  • 1/2 cup warm water
  • 1/2 cup evaporated milk (non-fat)
  • 3 eggs
  • 1 teaspoon vanilla essence
What to do:
  1. In a large measuring jar,  combine sugar and warm water.  Stir thoroughly. Add evaporated milk and eggs, stir again until combine.  Then add vanilla essence, stir.
  2. Sieve the filling mixture twice in a strainer.
  3. Pour the filling into tart molder. 
  4. Bake for 20 to 25 minutes or until golden brown and the filling is little bit puffed. 
IMG_2410

IMG_2418


Photobucket

Lumpiang Sariwa

IMG_2378 
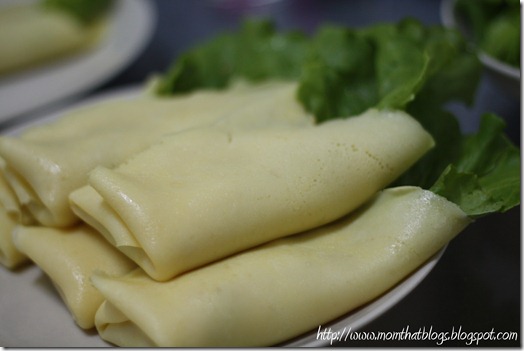
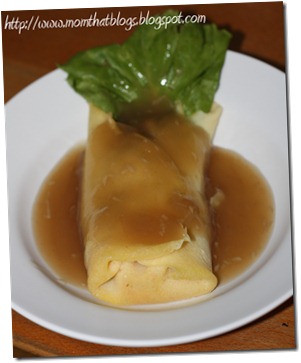
As per hubby’s request, I made a Lumpiang Sariwa courtesy of Panlasang Pinoy.  Though I made my filling very simple, just a few ingredients.

For the filling: I only used 250g of minced pork, one medium minced onion, cloves of garlic – minced , pork cube, 1 pack of tofu – cut in strips, small shredded cabbage and one medium julienned carrot.  Plus salt and pepper to taste.

Sautéed garlic and onion in heated cooking oil.  Added minced pork, when almost cooked I added the pork cube and tofu.  Simmered for a few minutes.  Lastly, added the rest of the  ingredients and simmer for another few minutes.  After cooking, I drain the filling and set aside.

My next step was the sauce.  I followed everything as instructed.  And my last step was the wrapper then did the procedure as well.  The wrapper yields 6 pieces. 

IMG_2393

It was really good.  I like his sauce and the wrapper.  Truly worth to try. 

Photobucket

Wednesday, October 27, 2010

The Breakfast Series - Healthy Donuts Making


Date: 6 November 2010 (Sat)
Time: 2:00 PM - 5:00 PM
Venue: Bukit Batok East CC
Ticketing: Register online

Donuts can be healthy too! Sounds impossible? Attend this workshop to find out how to make hearty, healthy donuts without compromising on great taste. Learn the art of baking them and enjoy them for your next tea break. Definitely a better alternative to the deep-fried versions we have become so accustomed to.

PAssion Card Privileges:

  • Members: $15.00
  • Non-Members: $15.00 (excludes $10 ingredient fee)

    Photobucket

    Mexican Cuisine Appreciation


    Date: 29 November 2010 (Mon)
    Time: 7:00 PM - 10:00 PM
    Venue: Chong Pang CC
    Ticketing: Register online

    Learn Mexican culture through their traditional recipes filled with classic goodness. A native Mexican Chef will enlighten you on the history of selected Mexican dishes and delight your senses by demonstrating the Sopa de Milpa (Milpa's Soup) and Arroz rojo (red rice). This workshop is supported by the Embassy of Mexico.

    PAssion Card Privileges:

    • Members: $10.00
    • Non-Members: $15.00

      Photobucket

      Monday, October 25, 2010

      A very special dinner at Sheraton Towers

      My hubby and I and some friends attended a very special day of our dear friend.  We spent the afternoon for the ceremony and evening for the dinner.  Well, would like to present their menu:

      Deluxe Hors d’ Oeure (Deep Fried Prawn with Mayonnaise, Suckling Pig, Deep Fried Scallop Coated with Bread Crumbs and Seasonal Jelly Fish) IMG_0776
      I like the taste of suckling pig and the flavor of Seasonal Jelly Fish :)


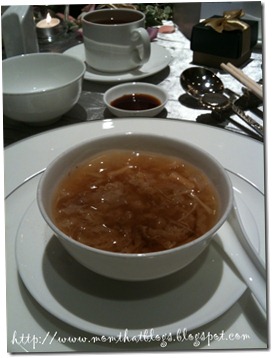
      Shark’s Fin Soup with Dried Scallop and Bamboo PithsIMG_0779
      I did what a friend told me, to add a little bit of vinegar and pepper, it was good! :)


      Pan-fried Canadian Cod with Garlic and Spring Onion Sauce IMG_0780
      Simple yet surprising taste :)  This time, I’m already full :P


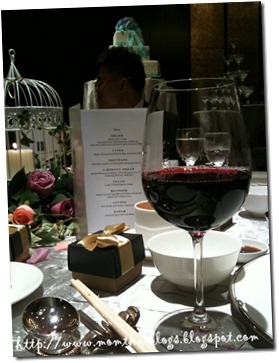
      red wineIMG_0781
      mine was Chinese tea and red wine :D


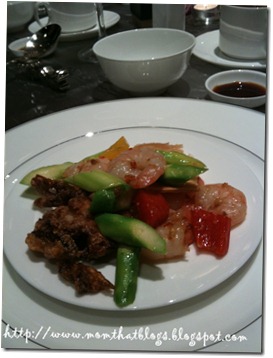
      Sautéed Prawns with Walnut, Celery and Capsicum in XO Sauce with Deep-fried Soft Shell CrabIMG_0784
      rice please ;) ….


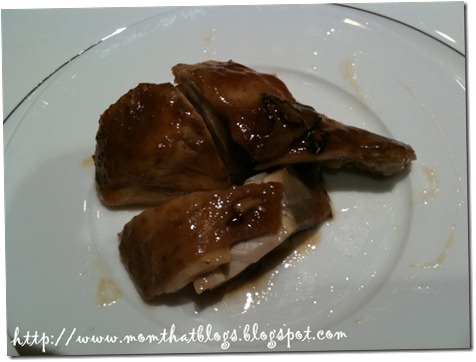
      Li Bai’s Herbal Emperor ChickenIMG_0790 

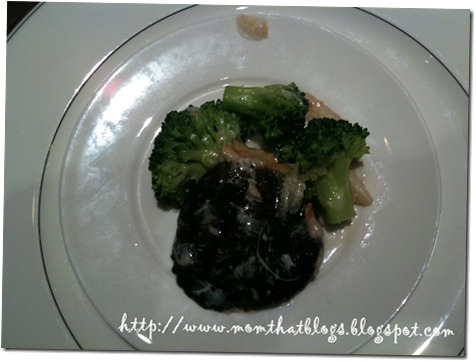
      Braised Seasonal Vegetables with Chinese Mushrooms, topped with Crabmeat SauceIMG_0792 love this! love mushroom! yum! :)

      Fish Noodles with Prawns “Japanese Style”IMG_0793 

      Sweetened Sago Cream with MangoIMG_0794

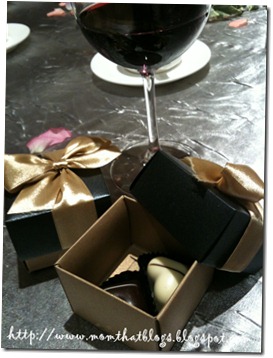
      the give-awayIMG_0795
      Yummy!! :)


      Photobucket

      Wednesday, October 20, 2010

      Ouch! My heel hurts!!

      via Foot Health Facts
      I have heel pain on my left foot.  It started months maybe more than 3 months or so, I lost track already.  At first, the pain only occurs in the morning once I stand up from bed.  I can't walk properly.  It subsides after few minutes of walking.  Then recur after I seated long hours during my lazy mode like watching television or in front of computer.  Then pain arises again after standing too long.  It is getting worst every day.  My pain is called Plantar Fasciitis or heel spur.  Aside from the fact that I have a weight problem, another big factor is I'm walking barefoot at home.  We don't wear slippers at home except for my kids that I always remind of to wear their home slippers (for reasons that my kids loves to lie down and seats on our floor so I always map our floor with something like Dettol :))  Before I have home slippers but stops wearing them cos I used it already outside, haven't bought yet but planning to.  Then lately, I also feel pain even when I'm outside roaming for just an hour mainly because my slippers' flat! BIRD & CRONIN PLANTAR FASCITIS SPLINT MEDIUMSo basically, I should not wear flat slippers anymore.  When I wear my FitFlop, my heel doesn't hurt, as in no pain even on long hours of walking and standing.  The thing is, I only have one pair of FitFlop which I wear only when we go to mall or anywhere far from our place :P  So here's the deal, when I buy my home slipper it should not just be that the heel is slightly elevated...I don't think this will resolve my prob.  I'm actually having a big thought of buying Skechers tone-ups which I found in reviews that it really helps with heel spurs aside from it is more cheaper than FitFlops.

      For the meantime, I'm doing a few exercises at home that helps relieve pain, only temporary. 

      Morning Exercises for Heel Pain & Planter Fasciitis


      Water Bottle Heel Stretch
      (I used tennis ball instead) 


      From here, haven't done the following exercises yet :P

      Foot Strengthening with Marbles


      Plantar Stretch for Plantar Fasciitis
      The Plantar Stretch would help improves heel spurs...


      Calf and Foot Strengthening Exercises


      I just hope my heel spurs would really improve soon!! :)

      Photobucket

      Monday, October 18, 2010

      Glee Duet of Quinn & Sam singing Lucky by Jason & Colbie

      I love the song Lucky by Mraz and Caillat, one of my favorite.  When I watched the Glee duet competition episode of Quinn and Sam's version of Lucky, I was suddenly "in-love" mode.  I was alone watching the series but felt like my hubby was beside me, haha.  Kidding aside, I really like how they sang Lucky.  Their voice were so sweet!  But of course, Jason and Colbie's are far better :P

      Here's the video of Quinn and Sam from Glee's Season 2 Episode 4...


      And here's Jason Mraz and Colbie Caillat YouTube link :)


      Finally, here's an added bonus! The duet of Mercedes and Santana, River Deep-Mountain High!


      Photobucket

      Tuesday, October 12, 2010

      Lasagna

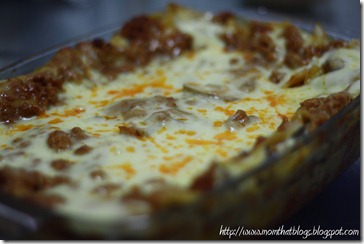
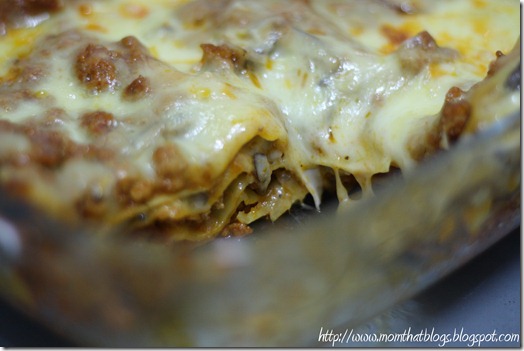
      IMG_1950 I made my very own recipe of lasagna.  Uhm, it was an experiment I did few days ago.  And as always I was craving for it again.  This was actually my second work of lasagna, the first I wasn’t able to post cos I was not satisfied with the result.  Well this time it was far better and I really like what I did.

      Ingredients:
      • 500g minced meat
      • 1 medium onion, minced
      • 300g tomato sauce
      • 100g shiitake mushroom, sliced
      • 1/2 head garlic, minced or shredded
      • 290g cheese & herbs sauce
      • 250g mozzarella
      • salt and pepper
      • pinch of nutmeg (optional)
      Procedure:
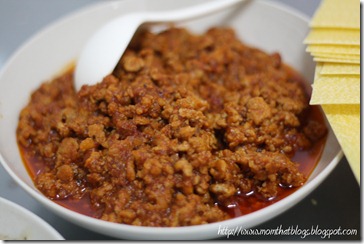
      1. Saute onion and minced meat.  Season with salt and pepper.  When meat is almost cooked, add the tomato sauce.  Stir and simmer for few minutes.  Set aside. IMG_1944
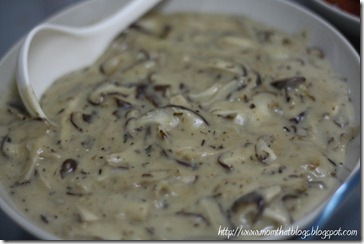
      2. Saute garlic and mushrooms.  Season with salt and pepper.  When mushroom is almost cooked, add cheese & herbs sauce and pinch of nutmeg.  Stir and simmer for a few minutes.  Set aside. IMG_1943
      3. Preheat oven at 200C.
      4. Prepare non-stick baking dish.  Place alternate layers of meat sauce, generous amount of mozzarella, lasagna, cheese & herbs sauce and lasagna.
      5. Finish with a layer of plenty meat sauce and cheese & herbs sauce combined then sprinkle the remaining mozzarella.  The top part should have more mozzarella.
      6. Bake in oven for about 45 minutes.
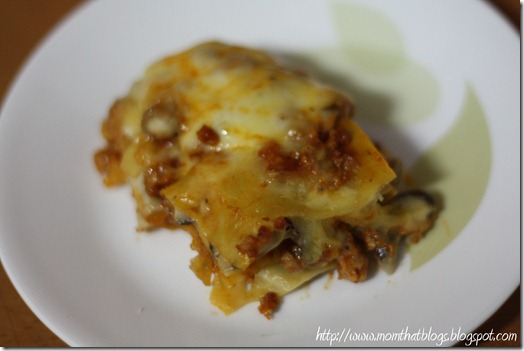
      7. After baking time, remove from oven and let it rest in room temperature for at least 30 minutes before serving. 
      The lasagna that I used don’t need a pre-cooking.  And please note there’s no need to soaked in water.  From my mushroom photo, I actually used 200g but my hubby said it was too much so I adjusted it to 100gm, as stated. I’m just a mushroom lover and my hubby is not hi hi.

      IMG_1967

      IMG_1959

      Photobucket