Wednesday, January 20, 2016

DIY Dividers

A pleasant day to all!

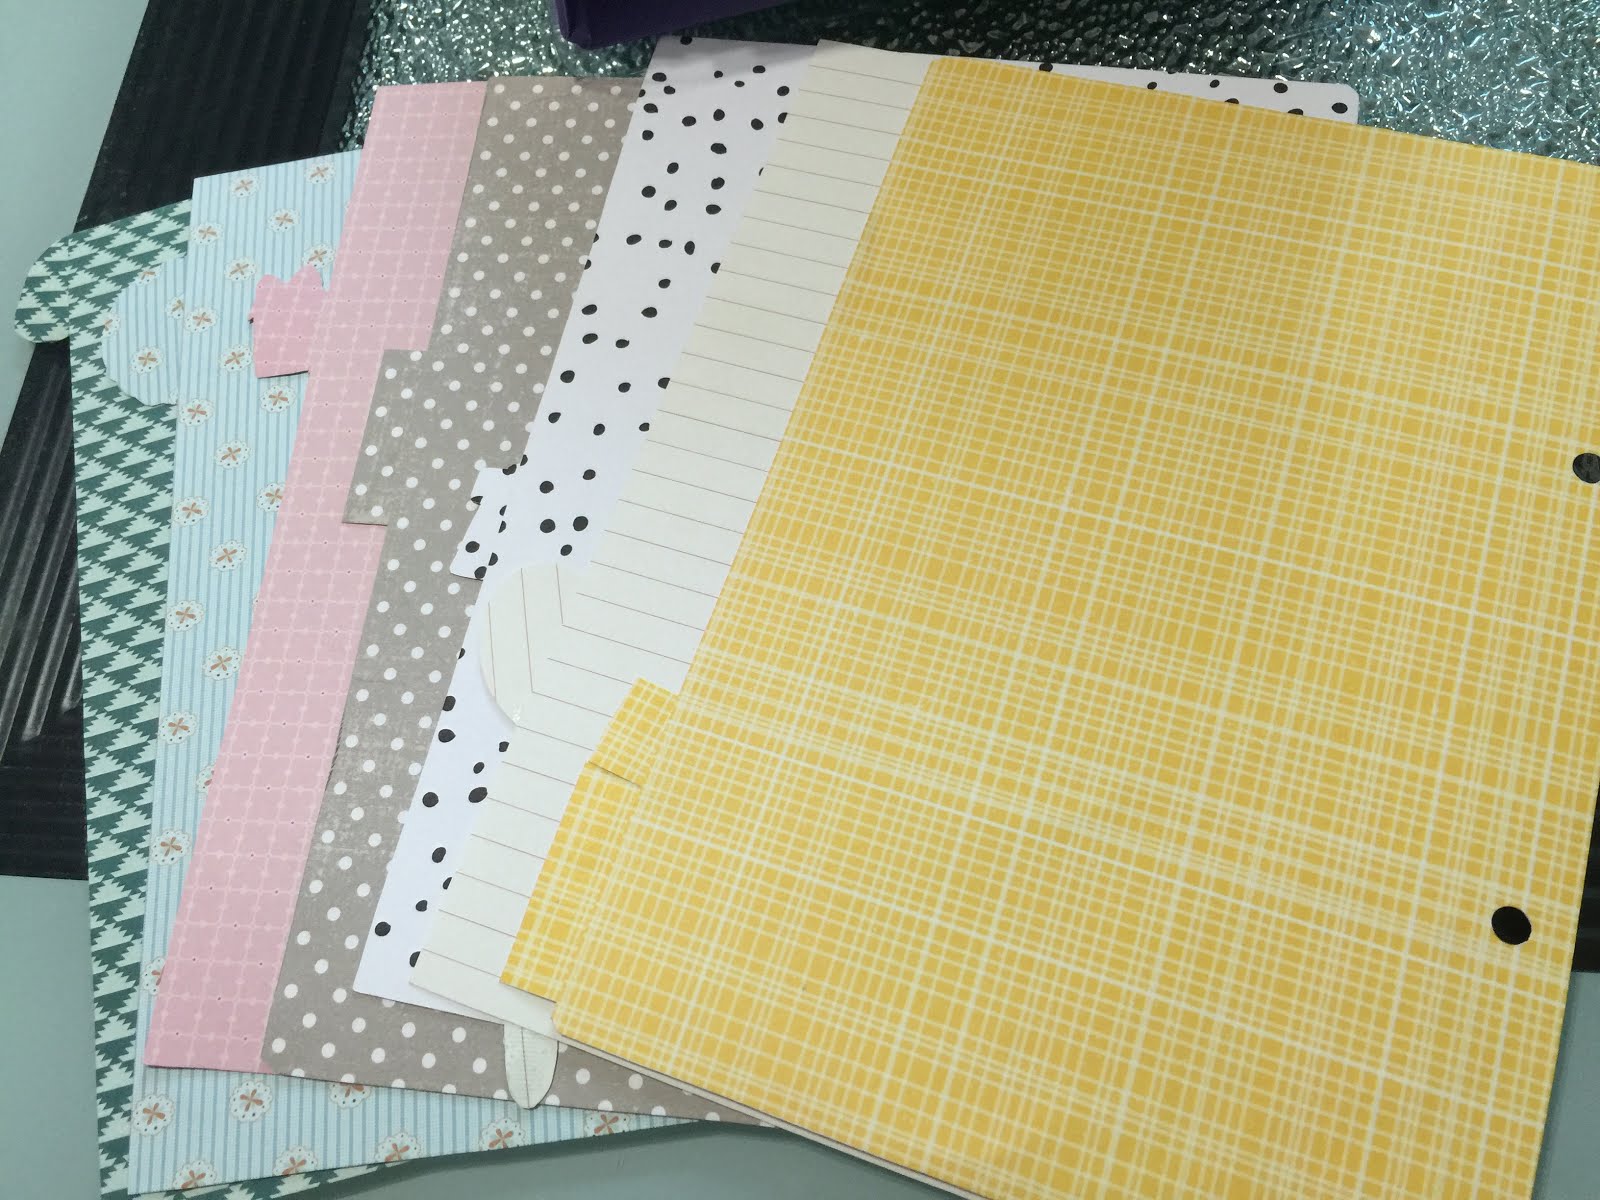
I would like to share with you my latest DIY...

Ta-dah!!!


These are from 12"x 12" craft & scrap-booking paper. 

for my monthly and weekly view
movie list and  birthday reminder page
books and new recipe page
finally, my make up list page :-P
I actually forgot to buy particular scrap paper for my makeup divider.  I prefer makeup images and anything girly.  I'm loving my tab anyways, "Be Happy" hihi.  I take notes of my makeup anniversaries and whatnot.  

back of the dividers ;-P


I don't want to ruin my divider.  To protect it, I just improvised what I have at the moment.  I used sheet protector.  I cut it just so.  The only open is the tab area part, it didn't bother me anyways.  At least, there's a protection. 


 I just wish I have this in the future....

image courtesy of Scrapbook


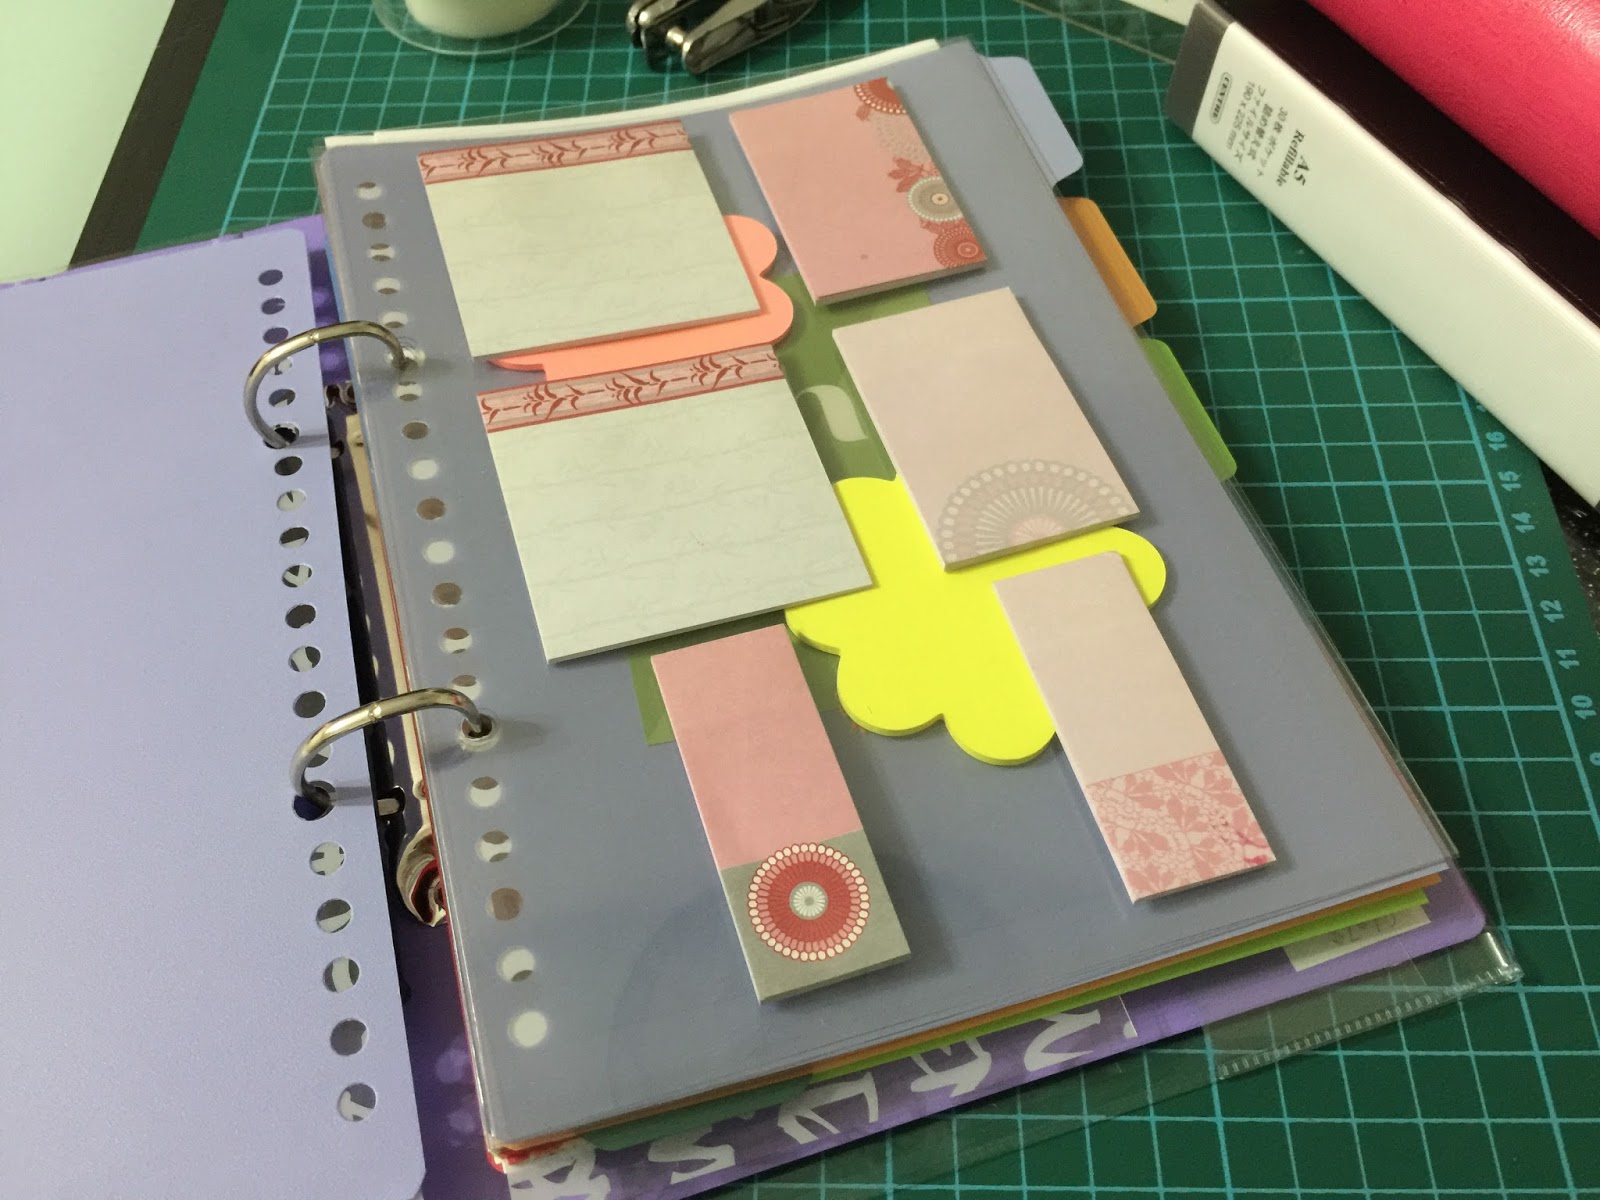
Lastly, here's an update of my new pocket insert, leftover from the dividers...


Oops, then I remember to put a ring label...


"Doing something you enjoy is more important than doing something that looks cool!" 

Photobucket

Thursday, January 14, 2016

It's positive!

It's definitely my new ME-Time!

In connection to my previous posts regarding planners,
 I would like to share few images of what I was doing this past days :-P  

Please do not judge, I am just starting (defense mode on) :-P

By the way, I've edited the pics by putting girly stickers/doodles for personal purposes.  I forgot take a pics before writing down few of my reminders / schedules.  


my first page of my weekly view :-)


few samples of my weekly view ;-P


While on the subject, this is my first pocket inserts I made.  Again, I just used an old thick art paper that I have on hand.  


"I consider myself to be a work in progress."

Photobucket

Monday, January 11, 2016

DIY Stickers

Hello there!!  I'm back to share with you my love for planners....

Warning: the word "planner" have been said here like hundred times!! over!! ;-P

First off, my interest in planners were way before 6th grade.  I used the business time planners that my father gets during Christmas.  I really like jotting down my activities for the day and my future schedule, if any.  The moment I never forget, when my father blurted out my past activities outside school that my parent's had no idea.  Like activities outside school that you did not ask permission, eh??  By the time I got to work, the give-away company planner was my go to on keeping notes.  Even when I became a housewife, my hubby's yearly planner was the one I used. Unfortunately,  it's been years that company don't issue planners anymore because of cost cutting.  So I ended up buying in bookstore.  I'm all for simple and cheap planners.  The expensive one that I only bought was the Webster's colour crush planner.  I used the binder for 2 years and I just bought generic inserts on the second year.  

It started early last year, when I stumble upon posts from Instagram (cos I was searching for new binders, out of curiosity) where they use their planners as their scrapbook.  Everything was so colorful and very impressive.  Afterwards,  I was enjoying watching "plan with me" videos on YouTube.  They were all artsy and promising.  To start with, I have a collection of wooden stamps and clear stamps.  But those are not for regular use.  I would like for daily use like housekeeping etc.   Mid last year, I find myself searching on where to buy stickers and all related art crafts.  That's when I learned about Etsy and the like.  Recently, my curiosity expand not only for binders when I visit kikki K but their shelves for the stickers and dashboard kits  All their kits are so pretty and I don't know what to pick. Cos I am not that artistic.  On a side note, I find it all expensive :-)  I'm afraid if I buy a kit, my work will not turn as pretty as theirs, sigh.  

Well, I window shop for crafts stores if we happen to pass-by as I always check on new clear and wooden stamps.  Like few days after my specially made planner, I asked my hubby if he can buy me new planner like Carpe Diem or Happy Planner whilst checking on those stuffs.  All smiles, he said yes if it will make me happy.  (In my mind).... Aaaah!! I already made one for 2016!!  Oh well, I didn't buy!! I don't want to waste what I just made!! hehe But!!  I will buy early this year to save it for next year!!! So there, I was thinking of why not try to do scrap for my new planner...to see if I can be artsy like them.  Like try and practice on would be new me-time / play time ;-)

I began to hunt for DIY stickers and whatnot via YouTube.  I knew I stumbled upon the videos before but my interest that time was only slight.  Majority of the tutorials they used are not using MS Word.  This time, I find that complicated and I don't have that kind of whatever, hehe.  One time, I've watched a few Youtuber, they used MS Word and found that really helpful.  Then I've searched also on Pinterest, there are free printables of stickers.  Visit the link and found that they get their clipart / icons at Flaticon, which have tons of free icons / cliparts.  That's were my fun started.  So collected all the icons that I will surely use, refer to photos attached.  The icons I wanted to see on my planner, yes!!  All along, I wanted to buy a clear stamps for these kind.  Then again, it was all expensive that I find I won't be using all the stamps.  Like I would end up buying more set, waah!! 

I used MS word.  I just created a tables and customized the table properties.  I am so happy with the result.  I will just reprint my functional stickers if I run out.  


Label I used, a full sheet no cut label.


What is more, I tried the other DIY sticker for the monthly and weekly view.  I still used the MS Word - tables and table properties.  Before that, I measured the height and width of my tables.  Then, I got the background from Pinterest, I searched for "iphone background." Just add from your search the theme you like for your background.   My tables for my monthly view are small hehe, so at first I wasn't sure if the quotes would print pretty decent.  The result, another happiness, yahoo!! 


My last batch of stickers are the page flags and banners.  The following I found in Pinterest, they are all free. Love, love!! 

Here's the link: (1) My Planner Envy; (2) Mein Lila Park; and (3) Interrobang Designs


That's it, I hope you like what I share here.  Just in case, you would like this idea.  DIY stickers are the way to go!! Give it a try for those newbie and for those who don't want to spend lots of savings just to buy stickers... like me :-P

Photobucket

Friday, November 20, 2015

My Specially Made Planner for 2016

The year end is very near, this quarter starts the hunt for planner enthusiasts.  Whence, I've been stalking for planners.  I checked online for new items even in bookstore, kikki K, Made with Love to name a few.  To be honest, I really find kikki K planners stunning.  What's holding me back is their inserts cos I will not use everything and I will end up spending more.  Well my dream planner up to now is Filofax, darn expensive yet I know it is worthwhile.  I like the Filofax inserts too.  What I use this year (even last year) is Webster's Pages Color Crush Planner.  The Webster's is love as well as their inserts - love love love!!  My current planner is just a personal size.  For next year,  I want to go back to A5 size.  Having said that, for sure I will spend more and having a second thought of buying a real planner since I only use it at home. 

For that reason,  I decided to try personalized planner instead.  In our nearest bookstore, a 2-ring binder are the only available and their designs are usually plain.  With limited choices and what not, I am still pleased with everything I bought.


The 2-ring binder are so cheap as well as the inserts like  dated weekly inserts, 12-months divider also dated, today ruler / book mark, and index tabs.   I also added PVC zipper bag and PVC name card /credit card  holder.  What's more,  I included PVC binding cover so I can add a DIY dashboard.  I even bought a 2 folds world map hihi.  For the said supplies, it only cost me less than S$30 :-)  I didn't include directory inserts cos I don't use them at all.  I don't have yet notes or any A5 stationary, but surely I will add those too.  I still have to check if I have A5 paper on hand for "notes / plan it" so I can just recycle.


I could go with my plain folder but I got too overwhelmed so I also bought scrap-booking supplies and cover.  The good thing is, I can still change my cover design in the future, yeah!! hehe


The book mark / my book mate is just a recycle, I thought it's cute ;-p


I've also design the back of my folder :-))


tada!! dashboards!! wooh!! 


In terms of designing pages of inserts, I'm not really crazy over that yet cos mostly based on my last years, our schedules' full (prolly my planner don't have enough space to write at) ;-P  I write down not only my schedule but my kids as well.  I even write notes for my hubby, for reference.  Actually, I find stickers and whatnot very cute but I don't buy them cos I really find them all expensive and I'm not good on crafts, sad.  At the moment, I go for old magazines,  cut out that I find interesting and that's what I paste on my planner.  What I am actually fond of are the clear stamps, classic cute wooden stamps and craft punch.


I am not done yet, I fell in love with this birthday and cupcakes scraps.  I plan to cut this and make a divider / book mark for my birthday reminder.  I haven't touch it yet cos I would like to laminate first before punching holes but we don't have laminating machine.  I'll think about it first.


Personalizing your planner never ends as you add more inserts, scraps and the like.  I also plan to make a DIY pocket inserts when I have time.  I will post images here for updates. 

I hope you like the personalized planner and you can really save money on doing so.  

'Til next time, thanks!!

Photobucket